Get Started
Prefer a Video?
In this video, we show how you can create your blog in less than five minutes !
Prerequisite
You can run BloggerCMS on your web host or on your local PC; in both cases you can create your blog and upload it where you want. In either case we expect you have PHP 5.3 or greater available and also mod_rewrite module activated. If you want to run BloggerCMS on your local computer, you can go for XAMPP.
In this guide, we will start from scratch by downloading and installing BloggerCMS and adding posts and pages and have a blog up and running. The whole process is no longer than five minutes (see above video) but reading and then following takes bit of time of course.
Downloading BloggerCMS
Head over to BloggerCMS Github Repository and download BloggerCMS either by clonning it's repository or direct zip download option.
Installing BloggerCMS
You can either install BloggerCMS on your local PC or on your web hosting provider. In either case, you can generate a blog. In this guide though, we explain how to install it on local PC and be able to generate a blog and upload it where we want.
We assume, you have already downloaded BloggerCMS and have installed XAMPP or similar solution. Please follow these steps to install it:
- Move the BloggerCMS folder to your web root folder usually named www or htdocs.
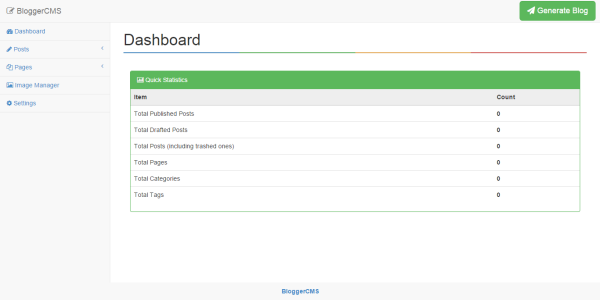
- Visit the BloggerCMS url on localhost. It's url will be like http://localhost/BloggerCMS assuming folder name is BloggerCMS. You should see BloggerCMS dashboard page like shown below:
Updating Settings
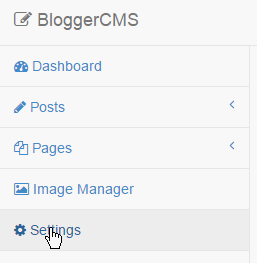
We now need to update required Blog URL field in settings page. Go to settings page by clicking on its link:
And then specify Blog URL field to be http://localhost/BloggerCMS/public
Note: This is just an example, in real world case, for Blog URL field, you would specify actual URL of your blog where you upload it something like http://mydomain.com/blog. For this very blog, it is specified like https://bloggercms.github.io since our blog is hosted on https://bloggercms.github.io.
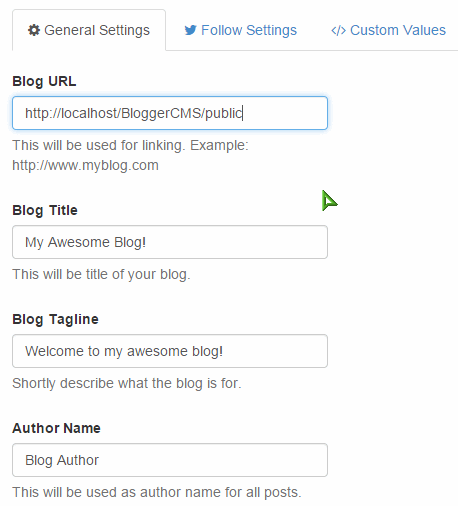
You should also update other blog settings; Blog Title, Blog Tagline and Author Name and finally click on the Update button on the bottom. You can also update Follow Settings and Custom Values (custom values can be embedded in layout) on the settings page.
Generating Static Blog
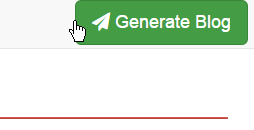
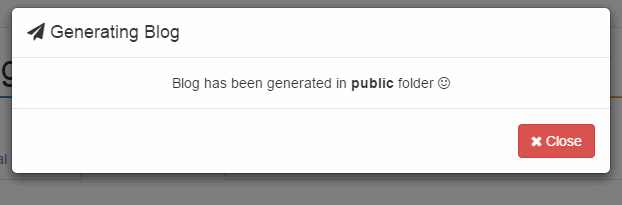
To generate your fully functional static blog, click on the Generate Blog on the top right:
You will see success message like this:
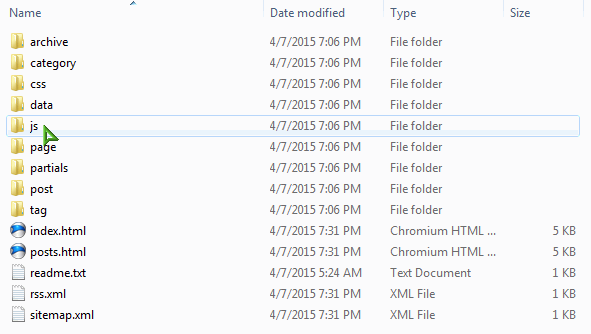
Check out your BloggerCMS/public folder which was empty before should now contain your blog files generated:
Notice that data folder contains whole data of your blog such as settings, posts, pages, categories, tags, etc. It is the data store of your blog.
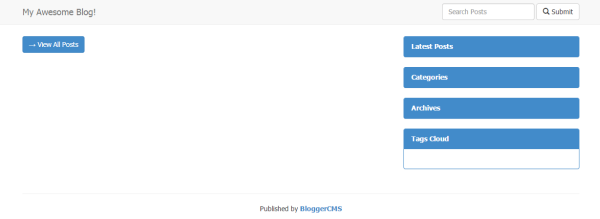
To see the blog, visit http://localhost/BloggerCMS/public in your browser and you should see your blog:
Adding a Post
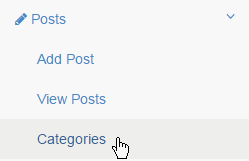
Let's now add a post but before that let's create a category for our post. T do so, expand Posts section by clicking on it and then click on Categories link:
Type some category name and then click on the Add Category button to add it:

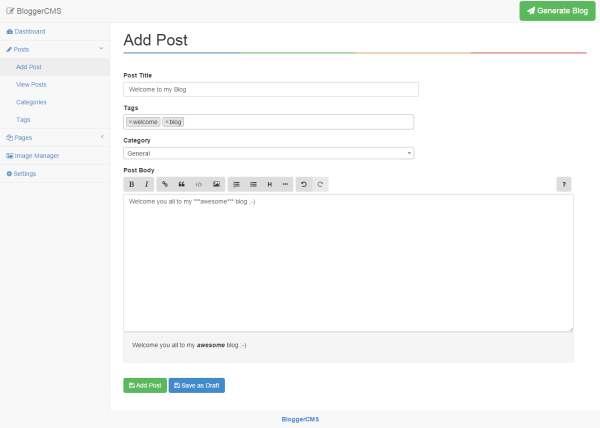
Now click on the Add Post link from Posts section and you would see add post page. Enter Post Title, Tags and Body and for the Category, select the category we just created and then click on the Add Post button:
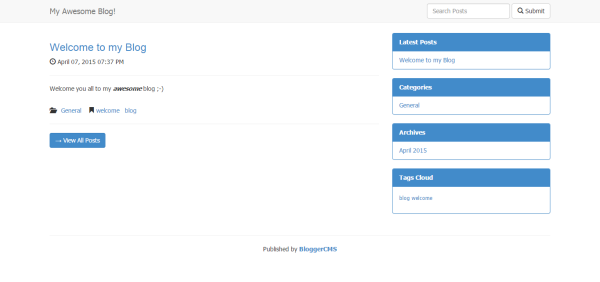
Once you have added post, click once again on the big green button on top right Generate Blog and then visit your blog url to see post:
Adding a Page
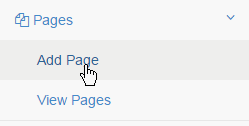
To add a page, from Pages section, click on the Add Page link:
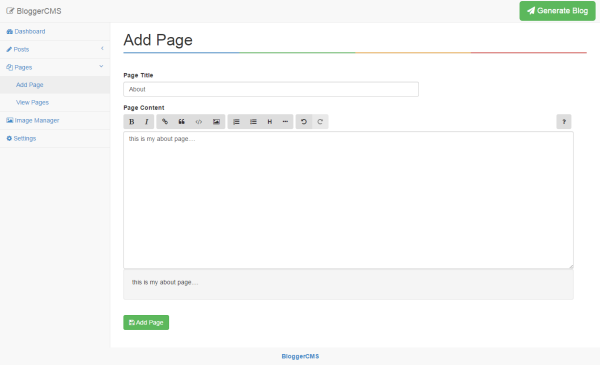
On the add page, enter Page Title and Page Content and hit the Add Page button:
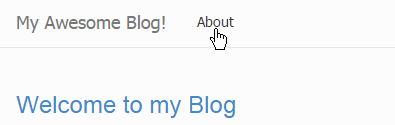
Once again click on the green Generate Blog button to update your blog. You would now see your page link added in top navigation:
Click on the new page link to see it:

This concludes the getting started guide. To see more tutorials, please see the Tutorial section.